 Halloween Anime Pumpkin Video Tutorial
 Beach Camera Girl Study
 My top 5 hidden gem songs of 2010
 G.E.E.R. – The Christmas Game That Never Was
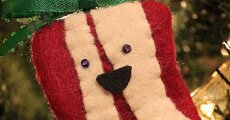 Bacon Ornament Tutorial


:origin()/pre01/5e19/th/pre/f/2016/042/3/0/sae_at_the_beach_by_sererena-d9rcwsx.jpg)
:origin()/pre00/4175/th/pre/i/2015/139/6/b/anime_north_2015_flyer_by_sererena-d8tyn1h.jpg)
Kirby Plush Tutorial

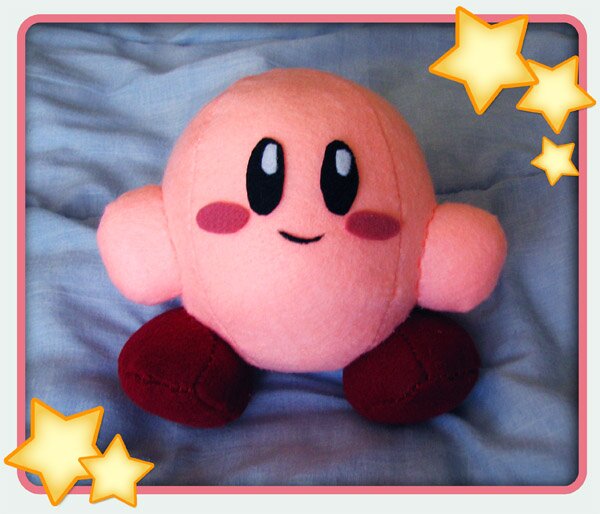
I love Nintendo, so I decided to make a Kirby plushie! Because it’s so easy to make, I decided to take some pictures as I made it to create a tutorial. This can be sewed partly by machine, but I made it all by hand (which explains why the stitching is so terrible). The final plush is about 6 or 7 inches high. You can download and print the pattern here.
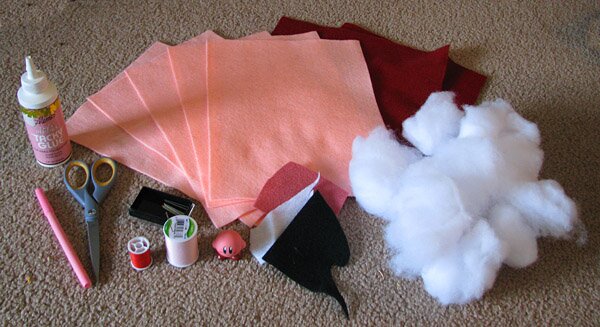
Materials and Tools
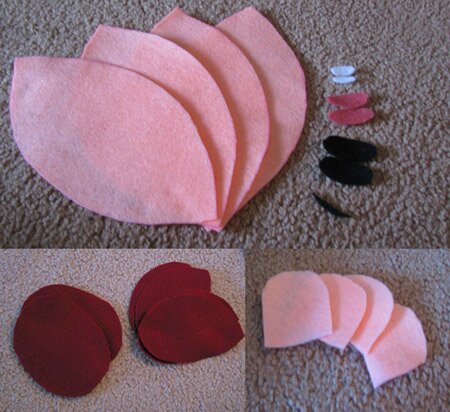
- Three or four 12″ pieces of light pink felt (buy online)
- 1 piece red felt(buy online)
- Pink, White and Black scraps of felt (buy online)
- Batting/Stuffing (get much more than shown… at least 3 times
that much) (buy online) - Glue (I used Aleene’s Tacky Glue)
- Pink and Red Thread(buy online)
- Scissors
- Fabric Marker(buy online)
- Pins
- Needle
- Sewing Machine (Optional)
- The Pattern Print-out
Instructions
-
Print out the pattern on a letter-size piece of paper and cut out pieces of the pattern. Use your marker to trace and cut out the shapes of the pattern. -
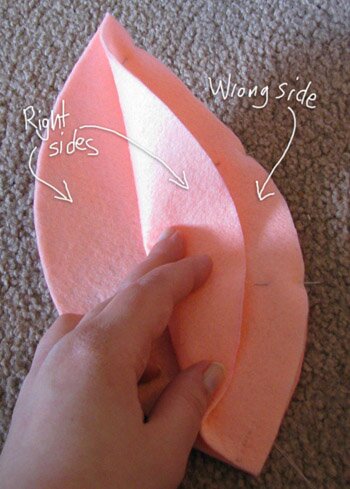
Sew 2 of the large body segments together, putting the ‘right sides’ or outside together. The right side should be the smoother, shinier side of the felt. Sew 5/8″ from the edge of the felt. -
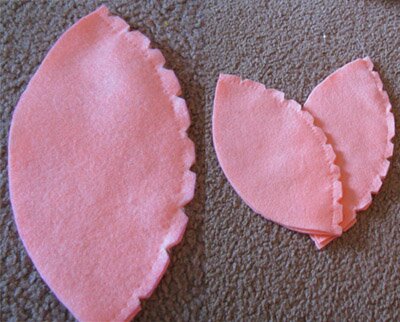
Notch or trim closely along the edges, being careful not to cut into the seams. This will make the seams more flexible when you turn the ball inside-out. Sew and notch the other 2 segments together as well. -
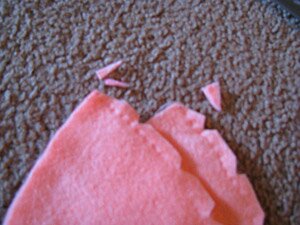
Clip the ends of the pieces close to the seam line. This will make it easier to sew through when both sections are attached. -
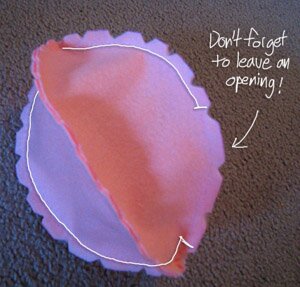
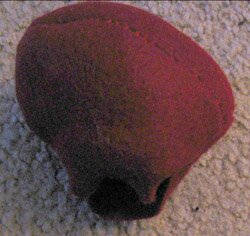
Open and flatten the open sides of the sections you just sewed, and put them together, right sides touching. First pin the ends, flattening out the seams so that it will be easy to sew through them. Next, pin the outer edges. Sew all the way around, going through both seams. Be sure to leave an open space about 3 or 4 inches wide so you can turn and stuff the ball. -
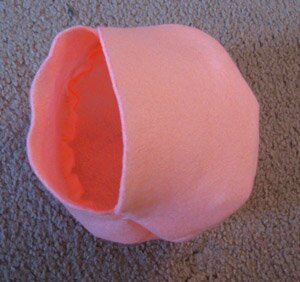
Turn the body inside out and use your fingers to flatten and contour the seams, bringing out the spherical shape. -
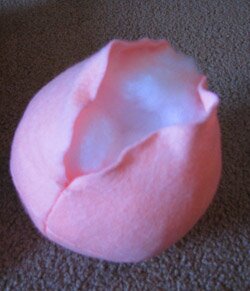
Stuff it full! Make sure it is stuffed very tightly, enough so it is firm, but not enough to warp the felt or pop open the seams. The more stuffing, the more easily it will keep it’s round shape. -
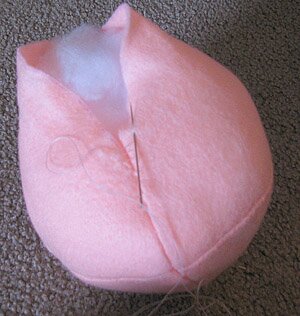
Use a to close the ball up.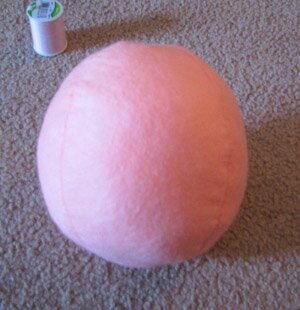
Yay! The body is finished! Take some time to shape it a bit. -
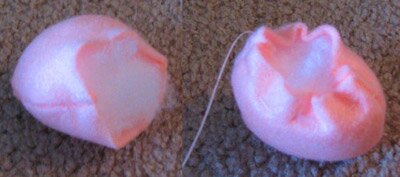
Now sew the arms. Sew the curved part of the arms right sides together. Notch or trim, turn and stuff the arm. Next, using a long running stitch all the way around the outer edge of the piece, about 5/8″ away from the edge. Pull on it to gather it a little bit. Knot the thread to keep it from slipping and fold in the raw edge. Pin the arm to the body and use the ladder stitch again to attach it to the body. Do the same with the other arm. -
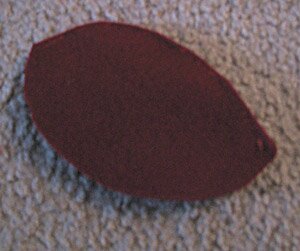
Sew the seam of the feet tops right sides together. Here, I trimmed along the seam edge instead of notching. -
Sew the bottom of the foot to the now-joined top, right sides together. Be sure to leave a small opening to turn and stuff it! -
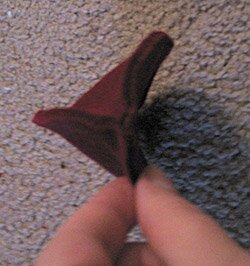
Turn and stuff the foot, and close it up with a ladder stitch. Attach the finished boot to the kirby body.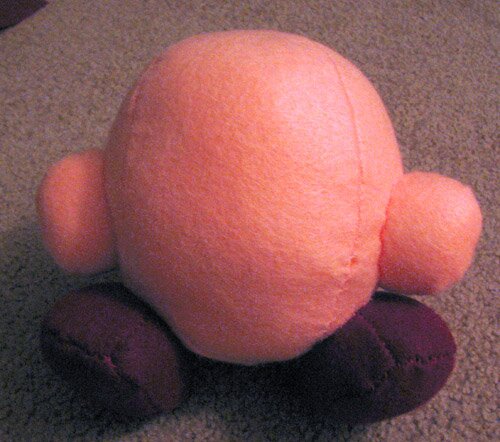
All that’s left is the face! -
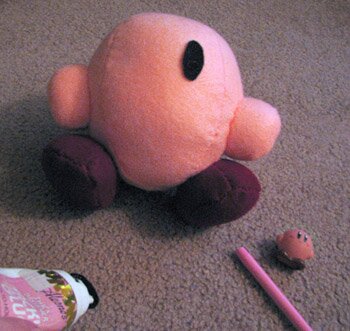
Using a reference (I used a little toy Kirby) Glue the features onto the face and let it dry a few hours.
You’re done! Give your Kirby cutie a big hug!
out my iPhone app, only $0.99! ^_^

- Share:
 Bookmark on Delicious
- Digg this post
- share via Reddit
- Share with Stumblers
-
Subscribe to the comments on this post
KIRBY!! Very good
Glad you like it.
I translate it into Spanish and post it on my blog, I hope you do not mind … anyway I gave you all the credits in the post… excellent tutorial
[...] blog.seremeres.com [...]
This is an awesome pattern! I made a blue Kirby for my friend’s bday~
[...] handled the needles. She even paid for the fabric herself at Walmart. My girl is growing up! I used this pattern(blown up at 125% and using fleece instead of felt) to [...]
Do you think you could make-and-post-a-tutorial-for Sleep Kirby? I wanted to make one, but most of the tutorials for Kirby plushes with copy abilities are just Kirby with items or hats.
ima make thanks i luv kirby
Aww, sooo cute! I will do it for my boyfriend!
I have to say that for the past few of hours i have been hooked by the impressive articles on this blog. Keep up the good work.
I figured out the problem, my printer shrunk the pattern. Something else I noticed, the pattern says to cut two mouths. You might want to fix that, haha.
Hi!!! Can I use this tutorial and make a video on it??? I’ll give you full credit.
About how big is this supposed to be? When I tried making it the arms were too small to turn inside out.
Wow! im using this to make a meta knight plush apart from the fact that i have now found out i dont have enough felt…DAMMIT!
Wow!